I read an article about the future of VFX a long time ago. It was in 2004. You can still have it:12 Predictions on the Future of VFX. We can summarize what came true.
My point is as the title says: the animation in VFX is still way more immature than other areas. I don't speak about animated (2D or CG) films or shorts because they are amazing.
It is a complex issue. First of all I should define what I mean by animation. Usually we can separate animation of living things like animals (not plants though) and the others. We can talk about keyframe animation, technical animation, traditional animation, character animation, etc.
I want to write about it in details, but right now I just post a video. It is about how science can deal with animation. I'm looking forward to the solution where animation is kind of a mixture of simulation and keyframe animation.
The topic is Procedural Content Creation and the software is 3DS Max. I have to admit it is a bit disappointing for me because we waiting soo long ago a system like that in Maya. Okay, there is SOuP so Autodesk bosses think we don`t need proceduralism any more because we already have it.
As we all know that SOuP maya plugin package has the tensionMap node. What it does is that colour coding the stretching or compression occurs on the deformed surface. It can be used for a lot of things. For example it can triggers blendShapes based on the surface compression or stretching.
I found it was useful to analyse how skinClusters (skin deformation) and blendShapes (morphed
geometries) affected on the result surface. I made a short video to demonstrate this.
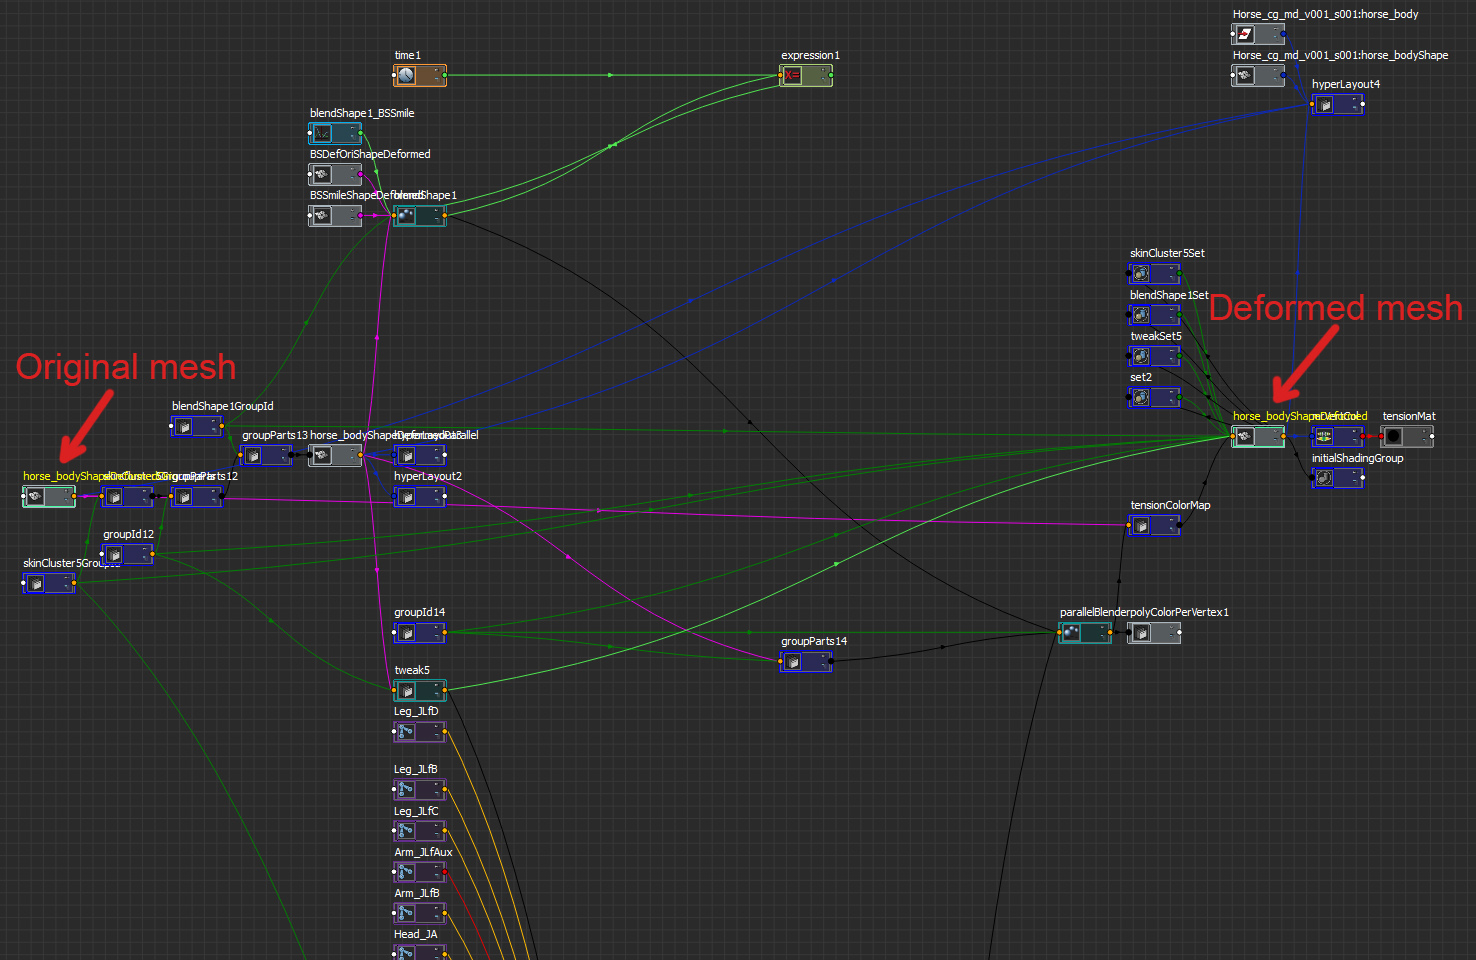
To utilize the tensionMap node easily I wrote a simple python script. We have to select the deformed mesh first and the original mesh after. It might be tricky to find those nodes in the node graph as you see below.
So here is the script:
 def AddTensionMaterial(Selection):
     """
     == DESCRIPTION ==
     It creates a lambert material diffuse color input from the vertex color map.
     The color map is from SOuP tensionMap with applies an RGB color code to represent tension on the surface of the geometry.
     Basic color code:
     Green - relaxed
     Blue - stretch
     Red - compression
     There is no error handling currently. SOuP plugin has to be loaded.
     === Limitations ===
     It considers only the current modifiers.
     === Side Effects ===
     Assign verex color set
     == INPUT ARGUMENTS ==
     + List - Selection - Mesh nodes has to be selected in order -> select the deformed mesh first and the original one after
     +
     == RETURN ==
     None
     == TOOLTIP ==
     Select the stretched or compressed shape node and the original (non-stretched or compressed)
     shape then run the code like this:
     AddTensionMaterial(cmds.ls(sl = 1))
     """
     shapeResult = Selection[0]
     shapeOriginal = Selection[1]
     tensMap = cmds.shadingNode("tensionMap", asUtility = 1, n = "tensionColorMap")
     lastDefomerOutput = cmds.listConnections(shapeResult + ".inMesh", source = 1, destination = 0, plugs = 1 )[0]
     cmds.polyColorPerVertex(shapeResult, relative = 1, r = 0.5, g = 0.5, b = 0.5, a = 1, colorDisplayOption = 1)
     cmds.connectAttr(lastDefomerOutput , tensMap + ".inGeometry")
     cmds.connectAttr(shapeOriginal + ".worldMesh[0]", tensMap + ".restGeometry")
     cmds.connectAttr(tensMap + ".outGeometry", shapeResult + ".inMesh", f = 1)
     mrVertC = cmds.shadingNode("mentalrayVertexColors", asTexture = 1, n = "mrVertCol")
     cmds.connectAttr(shapeResult + ".colorSet[0].colorName", mrVertC + ".cpvSets[0]", force = 1)
     tensionShader = cmds.shadingNode("lambert", asShader = 1, n = "tensionMat")
     cmds.connectAttr(mrVertC + ".outColor", tensionShader + ".color")
The Blender Foundation released the first part of their open movie project called Gooseberry Project. The film title is Cosmos Laundromat. I think it is giant leap.
We can find tons of materials about this project on youtube and on the site. Via Blender Cloud we can also have access to all the source materials (blender files, textures, etc.) of the film.
If you ever tried to trace the contour of something with the Lasso Tool you might found that it was appropriate tool for organic things. However sometimes we need straight lines for the selection and that is where Polygonal Lasso Tool comes in place.
The thing is you can mix both in the same time.
If you press and hold the Alt (Option key on Mac ) and then release the (left) mouse button, you'll temporarily switch to the Polygonal Lasso tool so you can draw a straight line. If you hold the mouse button again can continue to use the Lasso Tool. When you release the Alt (Option) key and the mouse button, Photoshop completes your selection with a straight line.